Wednesday 13 January 2016

Fish & Chips

Nothing more English then "Fish & Chips with mushy peas," right? Well, I believe the Italians would have something to say about that as they lay ownership to the invention of this culinary delight. Then again the Portuguese seem to given us fried fish and the Belgians chips... but for me it's the Aussies that win the day. For that matter a specific Fish n Chips joint in the beach town of Torque on the southwestern cost of Australia that I give all credit to hooking me on this girdle busting--grease oozing--finger licking dish.

Surprisingly this dish is not very difficult to cook at home and is guaranteed to save your wallet a chunk of change. Quite frankly a reasonably priced fish and chips out is miserable compared to this recipe! You can buy tarter sauce and frozen chips at the local grocery store but why would you when you can make them at home in minutes. If you are going to eat a dish like this I am grateful to know that though it may have a lot of fat it has not artificial or preservative anything. 

The veggie in this trio is sadly, the preverbal third wheel but we might as well throw it in for good measure. I try not to invest too much time or thought here: the traditional English mushy peas are easy and tend to transport one back to pub in London where the air is thick with ale--boil a bag of peas with some mint, when cooked strain, add 2 tablespoons of cream, salt & pepper and blitz in a food processor till it resembles a green version of the slush you find at the bottom of a ski run on a sunny day-- alternatively a simple green salad would suffice and if you are a Ranch salad dressing fan the white creamy dressing running of its emerald mound onto your chips is sheer ambrosia.   


Fried Fish
What fish should you use? That is entirely up to your taste and budget but for me a simple good quality white fish from the freezer does the trick. Quite frankly if I have a lovely fresh piece of fish I am not going to be frying it! But use what ever you like. 

Ingredients: 

4-5 fillets           white fish
170 gm/6 oz       white flour
1 teaspoon          bicarbonate soda 
1 teaspoon          caster sugar
1/2 teaspoon       mixed dry herbs
1-2 tablespoon    dill (finely chopped)
1 teaspoon          salt
1/2 teaspoon      pepper
235 ml/8 oz        beer (cold)

*oil for frying (apx 2-3 cups)


Fresh Dill Herb

Method:

Step 1: Salt and pepper fish. It is at this point that I like to cut my fish strait down the middle length ways and then cut those thinner strips into two or three smaller pieces. I find the frying easer and I prefer the look but do keep the fillets whole if you prefer. 

Step 2: In a medium size bowl combine all the dry ingredients including the fresh herbs and mix well.

Step 3: Heat your oil. This will take about 10-15 minutes as you want to bring it slowly up to 175-190C (350-375F). If you have a liquid thermometer it is time to pull it out! If not, put the back end of a wooden spoon into the oil and if tiny bubbles form around it immediately the oil is hot. Drop a few drops of patter into the oil and if it rapidly turns dark brown the oil is too hot if it takes more then 1-2 minutes to turn golden brown it is too cold. If as you are cooking your oil gets too hot simply add more oil from the oil vat and it will bring the temperature down quickly. 

Step 4: Add your beer to your flower and mixed herbs and spices and whisk until smooth. You want your batter to be thick, if it is too runny it will not adhere to the fish and your fish batter will have wholes in it. 

Step 5: Fry them fish! Dip your seasoned fish fillets or pieces into the batter roll to cover then pick up by the very tip and gently shake of any excess batter. Place the fish into the frying pan of oil carefully, and always placing the piece of fish down away from you. Allow to cook for 1-2 minutes the batter should be a golden brown, then use a slotted spoon to flip the fish over and continue cooking the other side for another 1-2 minutes until golden brown. Place cook fish onto a paper towel lined plate of a cookie cooling wrack. Once the oil as dripped of--about the amount of time it takes you to dredge the next round of fish and get them into the oil. Place them on a baking sheet in the oven. Oven temperature should be warm 80C/175F. This will stop the battered outer layer from going soggy and will keep the fish piping hot. Do not cover. 

That's it...repeat Step 5 until you run out of fish and then enjoy. That was not so difficult! 


In a small bowl mix together all the dry ingredients.


Fill oil half way up your pan (you want enough oil to submerge half the fish's depth minimum). Bring heat gradually up to 175-190C/350-375F. 

When the oil is hot add 235ml/8oz of beer to the flour mix and whisk until smooth. This will be a thick batter, this is a good thing. 


Dredge the fish in the batter to coat, while holding the tip of the fish gently shake of any excess batter that may be dripping...


Carefully lay the fish into the oil away from your body so as not to be splashed or sprayed with hot oil. *Please be very careful with hot oil especially around children. Make sure the handle of the frying pan is back toward the nobs so it can not be nocked. When I am frying I announce to the whole house that children must not be in the kitchen and must walk slowly and carefully through the kitchen if needed. 


Fry until golden brown, 1-2 minutes, then gingerly flip the fish using a slotted spoon. Continue frying second side 1-2 minutes until golden brown. Lift from pan with slotted spoon, hold fish over oil allowing excess oil to drip back into frying pan. Place fish onto a paper towel lined plate or onto a cookie cooling rack allowing the excess oil to drip off. Once dry, about the amount of time needed to dredge and put the next fish into the frying pan, place into a warming oven on a baking sheet. This will keep the batter crunchy and the fish piping hot while the remainder of the fish is fried up. 


Chips

Ingredients: 

1-2 per eater      yukon gold/king edward potatoes
2 tablespoons      semolina
1 teaspoon          paprika
                          mixed dried herb 
                          salt
1/2 teaspoon      onion powder 
                          garlic powder 
                          coriander powder
                          chili powder (optional for spicy heat)
1/4 teaspoon      pepper
3-4 tablespoons   garlic olive oil (or plain extra virgin olive oil)


Method:

Step 1: Peel and slice potatoes into wedges. Pre-heat oven to 200C/400F *(If you want to peel and slice ahead of time simply place potatoes into a bowl, cover with cold water, cover. Store for up to 24 hours.)

Step 2: In a small bowl mix together all the dry ingredients.

Step 3: Coat the potatoes with garlic oil and then coat with dry spice mix. 

Step 4: Spread onto baking sheet (do not over crowed the potatoes), bake in oven for approximately 40 minutes, flip once after 20 minutes. 


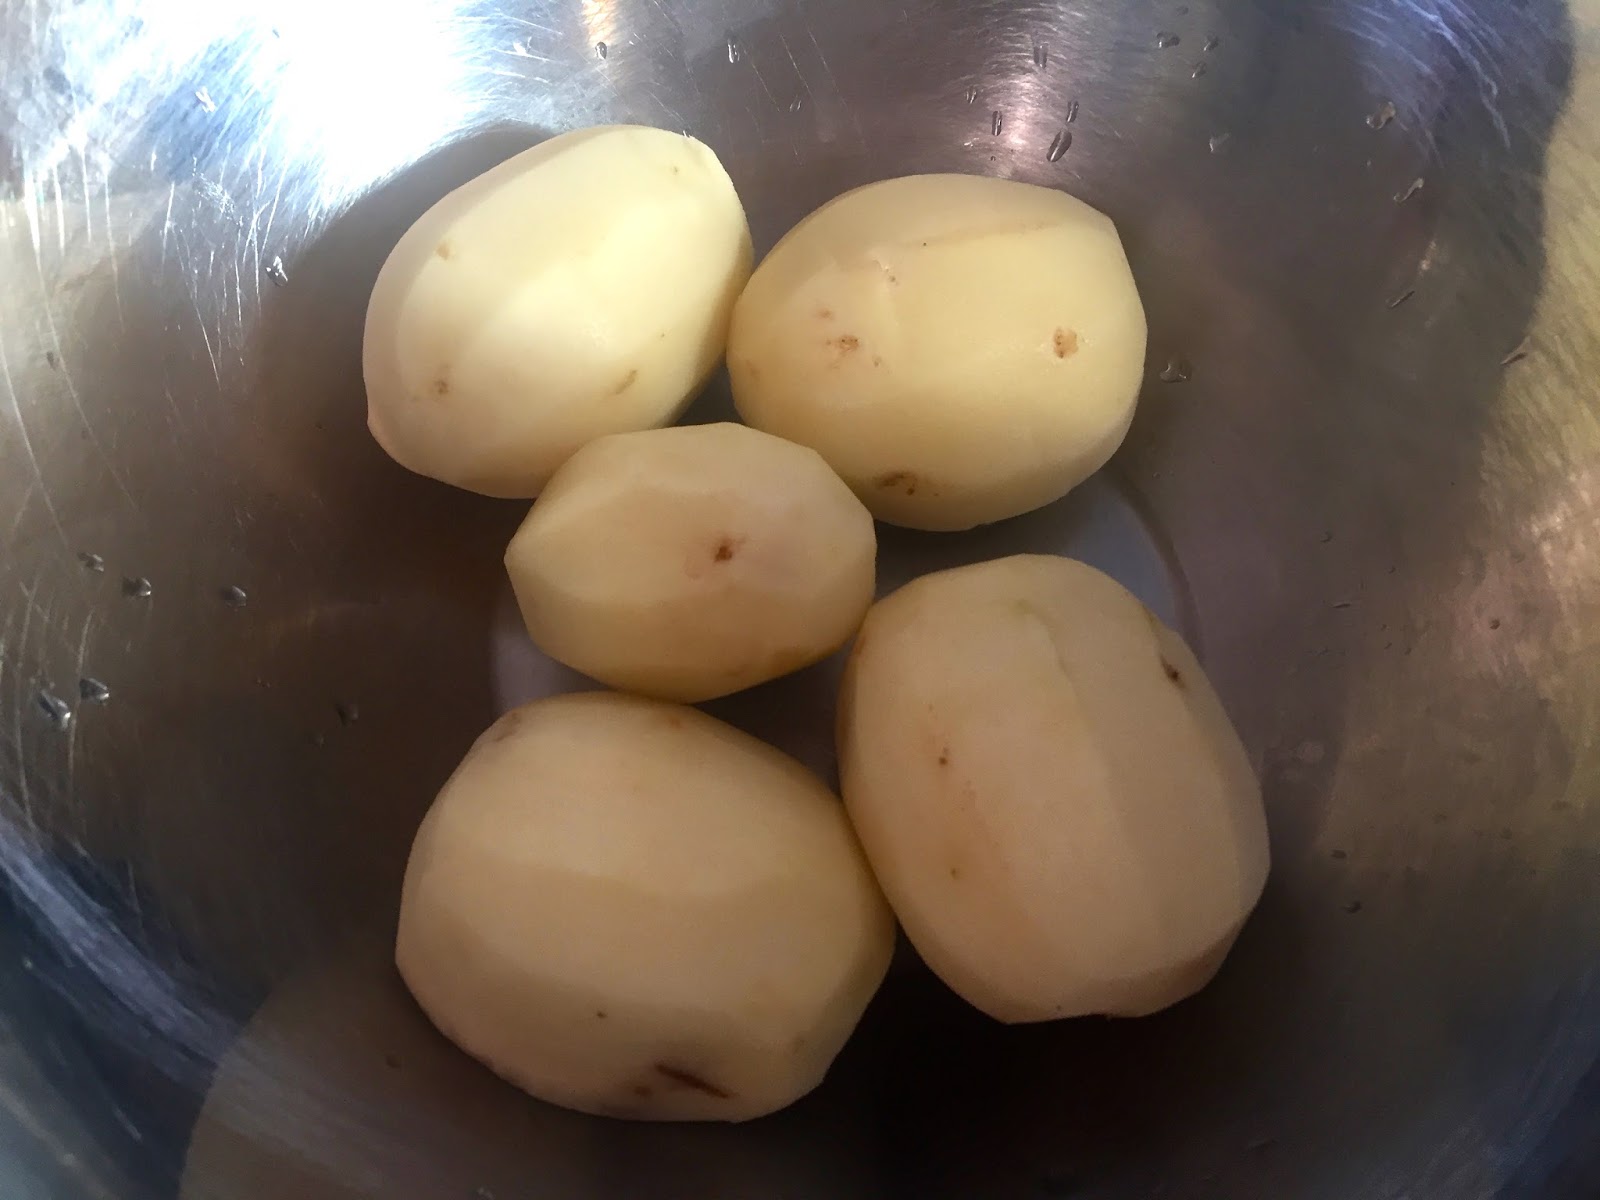
Peel and chop potatoes into wedges. 


In a small bowl combine the semolina, herbs, and spices. 


Coat the potatoes with garlic olive oil then sprinkle spices onto potatoes mixing well. 


Place potatoes onto a baking tray, do not over crowd. Cook in a very hot oven for 40 minutes, flipping the potatoes once after 20 minutes of cooking. 


Tarter Sauce
This tarter sauce recipe is an altered version of Ina Garten tarter sauce recipe which can be found on-line at the Food Network web page. I find that her recipes are hit and almost hit...sometimes I need to alter them to fit my tastes as with this tarter sauce recipe. 

Ingredients:

1/2 cup              egg mayonnaise 
3 tablespoons     dill pickles/grekens, finely diced as small as you can! 
1 tablespoon       white wine vinegar
1 teaspoon          grainy dijon mustard or course mustard
1 teaspoon          caster sugar
to taste              salt/pepper


Method:

Step 1: in a small bowl combine all the ingredients in any order you like, mix until well amalgamated. Store in the refrigerator until ready to use. 

Step 2: bask in the liberating joy of having made a sauce from scratch that everyone else buys, and prepare to take the credit at the dinning room table! You can decide if you will admit how easy it was or not.


A simple fish & chips with a green salad--who wouldn't want that for dinner?!


Tuesday 12 January 2016

The French Crepe

Perhaps the most utilitarian french invention that you will find in my kitchen. These smooth velvety disks of indulgence can be used to carry sweet or savory. Easy snacks to take on the road or liberally  smothered with a citrusy suzette sauce. A stack of crepes can be made the day before for, for that matter days before for,  you need them making dessert a mere assembly job. 

The one caveat with the crepe is that I found it near impossible to make a good one with out a crepe pan. I ended up ordering mine on-line but more power to you if you can find it in a local shop. Though I do not tend to buy many specialized tools for my kitchen a crepe pan has become a pan that I use daily--for frying any kind of pancake, eggs, omelets--all of which my crepe pan is the tool of choice in my kitchen. 

To say this is my recipe would be like saying I have a recipe for a Peanut butter and jam sandwich.  The first recipe for a Crepe that I used was found in a lovely little french cook book aptly named, "French" by Carole Clements & Elizabeth Wolf-Cohen which I would highly recommend if you would like to dabble with French flavors. A Crepe recipe can easily be varied with little concern for a crepe catastrophe. Heavy flours like Rye and Spelt make beautiful crepes, almond milk brings a lovely nutty flavor to the crepe. However, I would stick to the butter unless you find yourself in the lamentable condition of having a dairy allergy, as I have found this to be the only factor to bring about any questionable outcome to the crepe. If you must change to oil I would stick with a grape seed or almond oil as I have had success with these. 


INGREDIENTS:

1 cup                      flour (white, whole meal, spelt, rye or a mix)
1 teaspoon             caster sugar
1/4 teaspoon          salt
3                            eggs (whisked)
2 cups                    milk
*2 tablespoons         butter

*You will also need a mix off 2T butter & 2T oil for greasing pan when cooking.


Method:

Step 1: Whisk together, eggs, milk, and butter.

Step 2: Add flour, sugar, and salt then whisk until all lumps are gone.

Step 3: Cover and allow to rest for 20 minutes to over night. Note: When ready to    cook the mix will need to be mixed well before use. 

Step 4: Heat crepe pan to medium/hot heat.

Step 5: Lightly grease crepe pan then pour 1-ladle full of crepe batter into the center of the pan then holding the handle of the pan tip the pan in a circular motion allowing the batter to spread a thin layer evenly over the base of the pan. Cook for approximately 1 minute until the top of the crepe is set. Carefully slide your spatula under the crepe and gently flip. Cook additional minute. Stack crepes onto a plate lined with a paper towel or kitchen dish towel. If you will be using the next day allow crepes to completely cool, then cover well with cling film and store in the fridge if it is summer or in the winter (if your house is cold) store in a cool dry place. 


Fill crepe as you desire...but be warned these slid down easily and one can easily consume more then their fare share... 


Crack eggs into a large bowl then whisk...

 Pour two tablespoons of butter into the eggs and mix...


 Add milk and mix...


 Whisk wet ingredients well...


 Gently tumble the flour (I have used 1/2 cup Rye and 1/2 cup Whole Meal here)...


 Carefully tip the salt and sugar on top of flour, and whisk the dry ingredients together just as it is sinking into the wet... (this method saves an extra bowl..less washing up!)


 Whisk together until all lumps are gone. Mind you don't stress tiny little lumps like the ones seen on the side of the bowl here...


 Cover and rest for 20 minutes...24 hours...


Heat your pan over medium/high heat until hot. Get yourself organized before you pour! 

Pour one ladle full onto the center of pan then twirl the pan around allowing the batter to slide smoothly and thinly to coat the bottom of the crepe pan.  


 The French say the first crepe is for the dogs. This is not because of their deep love of the family pet but rather because first crepe almost always ends in disaster like the above photo. However, in our family this saying is quite apropos as the kids always come running like a pack of wild snarling dogs to see who gets the "dogs" crepe. So toss your first ruinous crepe to your kids and move onto the next. 


Allow the crepe to cook for about 2 minutes until the top has set then very carefully slide your spatula under the crepe and flip. It is not as difficult to do as the first couple may leave you feeling that it is but by your third or fourth crepe you will begin to feel like a pro.


The golden glow of a finished crepe just waiting for its filling and a hungry mouth. 


Nutella filling is always a crowd pleaser but don't get stuck in a Nutella crepe rut, branch out to a Suzette Sauce or mix together cream cheese and your jam of choice, the options can go as far as your imagination. 


Fold the crepe in half...then in half again...to form your tasty parcels. And as my children always say, "If you bite the tip it's gunna drip!" so our advice is to eat from the top down!


Suzette Sauce (Orange Sauce):

INGREDIENTS:

6 tablespoons (85gm)   
                             butter 
1/4 cup                 caster sugar
1 large                   orange (zest & juice)
1                            lemon (zest & juice)
2/3 cup                  fresh orange juice
4 tablespoons         orange liqueur

*Brandy for flaming (optional)


Method:

Step 1: Melt butter in sauce pan

Step 2: Add sugar, zest, juices, and liqueur and heat until sugar has dissolved. Sauce will be very runny.

Step 3: Place crepe into juicy sauce, sock while flipping in half and half again. Set to the side and continue heating crepes. 

Step 4: Flame crepe (Totally optional no need to do this unless you want to really impress someone however its not as difficult as it sounds.) Heat 2-3 tablespoons of orange liqueur and brandy in small saucepan over medium heat. Remove pan from heat and carefully ignite with a match then gently pour over the crepes. 


 Melt butter in saucepan over medium heat...


Zest lemon and orange into a bowl with the measured out sugar...


Add to melted butter and stir...


Add the orange and lemon juices... I used freshly squeezed orange juice by may assistant...

Then add the liqueur and mix well...


Heat sauce until it just boils then add your crepe...


Use your fork to press crepe into sauce allowing the crepe to soak in the sweet citrus...


Fold crepe in half...

Then in half again... while pressing crepe into the sauce... then remove crepe onto a plate and continue with the remaining crepes...


Enjoy..


Crepes are a great afternoon tea... my children set this table for us to eat our crepes and have our tea... 

Bon Appetit